The chair that ate my brain...
Bought a couple of old recliners yesterday for 20 bucks a piece. I'm going to tackle my very first upholstery project - and I'm terrified! (thanks MOM!) So I've posted on a couple message boards and been reading a LOT on how to reupholster furniture - it's overwhelming, but I'm trying to approach it with a mantra - "slow and steady wins the race" - or something like that...
Here's a pic of the chair and the step by step:
Step 1: Removed back - metal flex strip on the sides (gonna have to buy some of that and figure out how to use it!). The fabric along the top was put on with a cardboard strip and batting on top, then it was pulled tight along the bottom and stapled (raw edge). I believe the flex striping was put on last? Not sure about that. There are two screws on either side of the tufted chair back that hold the wooden frame on.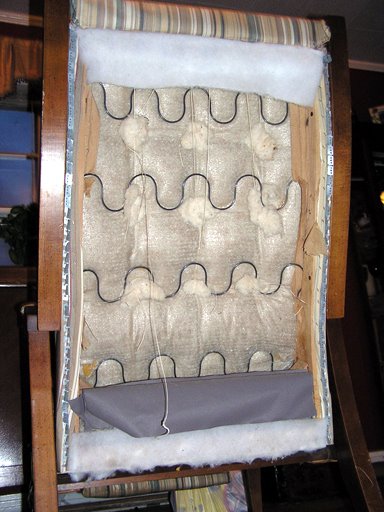
Step 2:
Removed side panel upholstery. I may remove the cardboard and staples and then paint or restain the inner portion - not sure why it was upholstered in the first place...
Step 3: Removed cording and fabric from the arm of the chair - you can see how nasty the upholstery is in this pic! Will probably trim the chair in some sort of braided trim or cord to avoid having to use piping.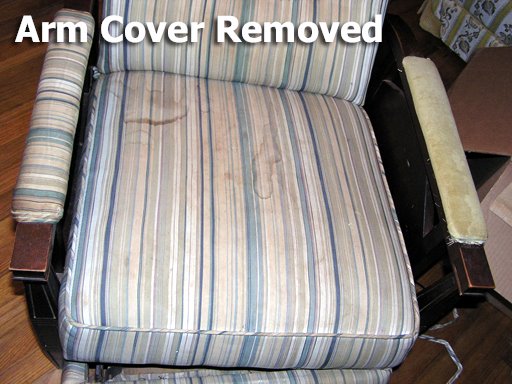
Fabric Measurements:
Back - 20x32"
Arm Cover - 3x16" (trim - 37")
Side Panel - 21x3" (trim - 46.5)
posted by ... at 8:12 AM
![]()

0 Comments:
Post a Comment
<< Home